Saturday, October 29, 2011

We are the Champions!

Go Scorpions!

Soccer bag design


My son helped win the regional soccer tournament, now they are off to the area tournament. How exciting!!! I plan to make soccer ball bags filled with candy to hand out at the next tournament.

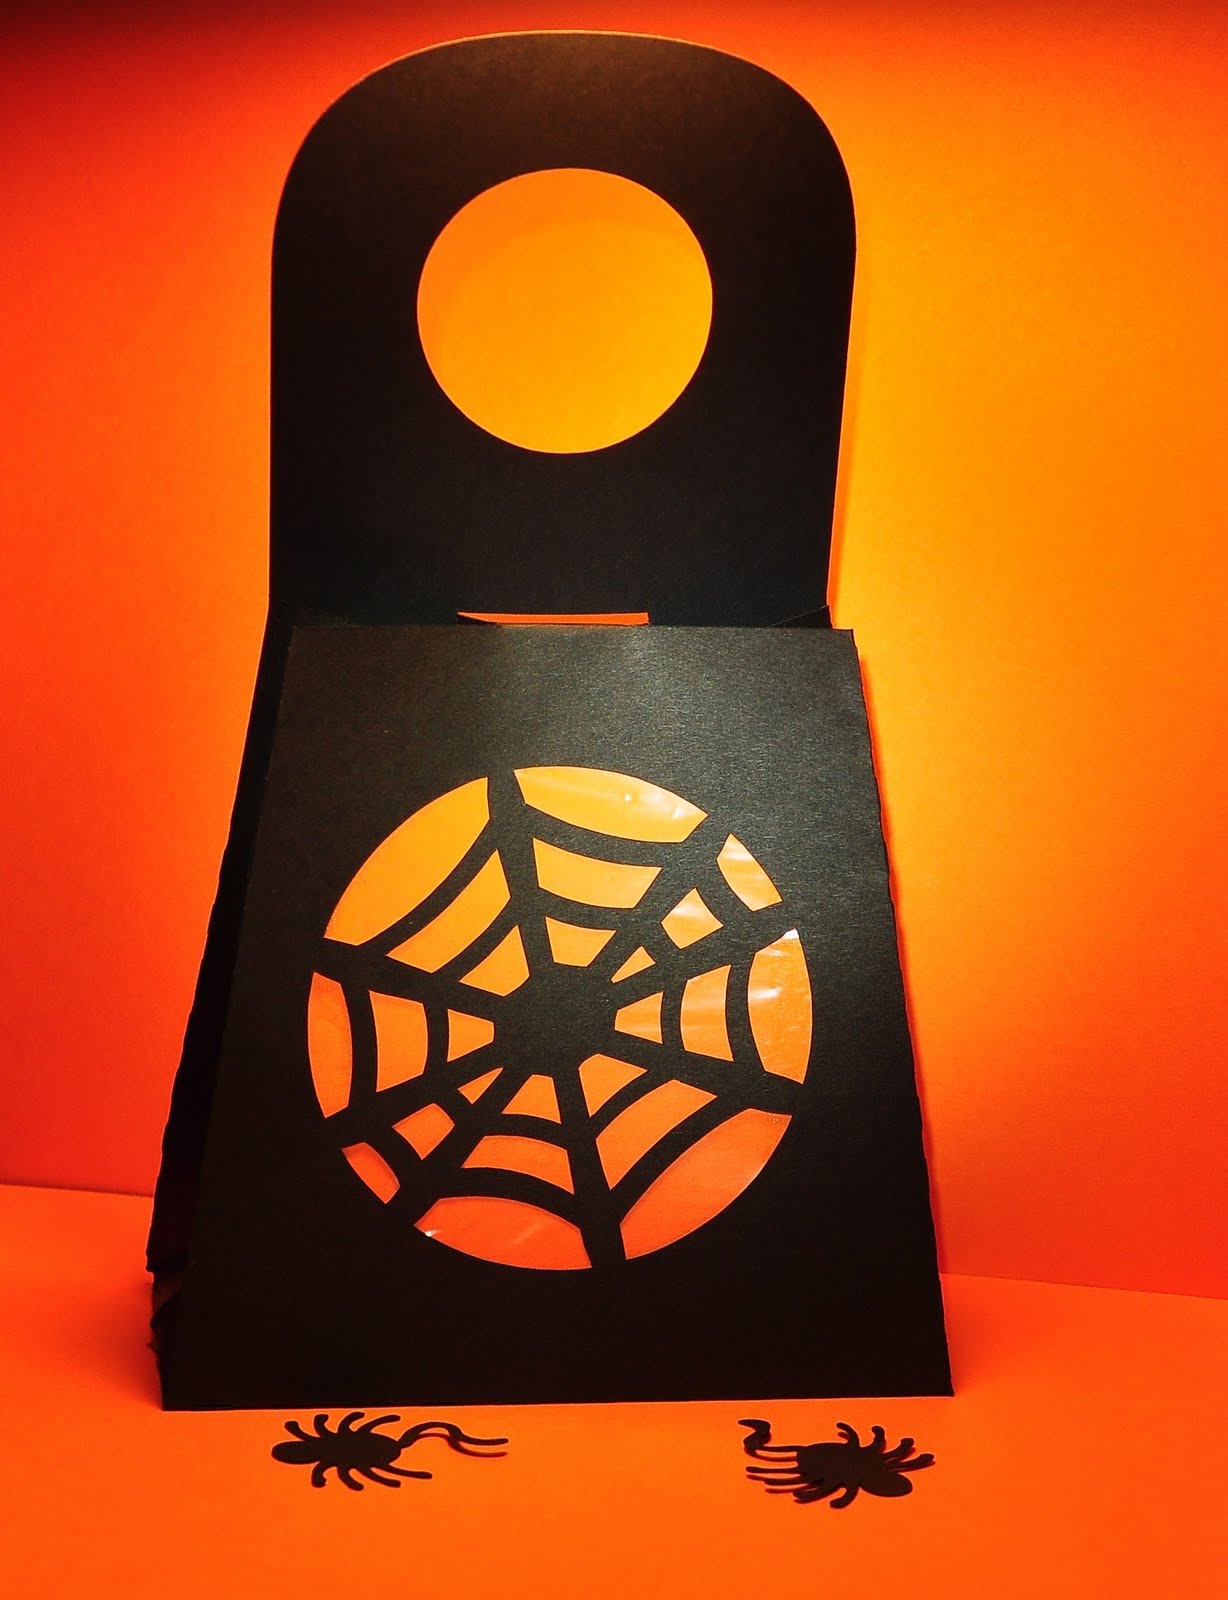
Silhouette software makes this so easy, I am using the spider web bag I made yesterday. All I have to do is delete the web and inset the soccer ball. How easy is that?

Friday, October 28, 2011

Microbeads?


I have tried several methods of adhering these beads to paper, but none seem to really work. Anyone use these and have a good method of applying them to paper?

Thanks!

Spider Web Treat Bag


This spider web treat bag can also be hung on a door handle. I didn't use the handle with the slit for the door, but one could easily cut a slit and hang it on a door. My son is going to love this! I used a Ziploc bag behind the web and then I inserted orange card stock for more definition. Fun, EASY project!

Owl Treat Bag


How cute is this little owl treat bag? I meant to emboss her whole body, but I forgot to do that before I put her together. This is a Silhouette file I bought from SIL. Now I need some candy so I can stuff her :-) I added a ribbon handle for easy carrying.

Wish

Front

Back

I made 2 of these, one for each kid. As you can see, my daughter has already colored on the first page of her book. These books were made with plain cardstock, Embossing ink and powder, SU! stamp, Cuttlebug with Swiss Dots dry embossing folder and PC Your Story (binder). I bought the Your Story strips from Hobby Lobby and wanted to try them out, so this was my first project.

I embossed the inside too! I love embossing, why don't I do it more?

This book is a Christmas Wish List book. I am trying to get a head start on Christmas Shopping. No last minute surprises this year (hopefully)!

Hello Card

I love this little bird embossing folder. I have stamps I never use so today I thought I would pull out a stamp and use it. Not my favorite card, but it has elements I like. I like the scallop edges (it is a Fiskar punch). The jewels Tanya gave me a while back add a nice touch to any card.

Saturday, October 22, 2011

Rhinestone Pattern - a little different idea

2 Snowmen images filled with patterns
2 Snowmen images with cut lines showing
I had a thought today, what if I wanted to use a Silhouette rhinestone pattern for a different purpose? Here are the instructions to my idea.
1. Find rhinestone pattern/design in Silhouette Studio
2. Fill image with a pattern
3. Select all, then choose "no cut" for the lines
4. Offset by .250
5. Select all, then Ungroup
6. Select outline
7. Select to cut the outline
Now, put it on a card or layout. How cut is this snowman?

Friday, October 14, 2011

Especially for you card


Supplies:

Adhesive

White cardstock

Cricut Imagine

Cricut Fabulous Finds Cart

Cricut Imagine Audrey Cart

Silhouette

Office Printer
Ink

Ink dauber


I created this card for my bosses boss, Walt. He is actually the manager who hired me 10+ years ago. I worked for him for probably 4 years or so until I moved to the software group. He has moved up and I have moved to the Avionics Engineering group, which is happens to fall under Walt. We are having a picnic for our boss and decided to invite Walt also, so I made this card today.


I printed the paper on the Cricut Imagine. The pattern is on the Audrey (which also happens to be a lovely name and a lovely blogger!) cart. The file folder card can be found on Fabulous Finds cart (I used the blackout feature). After cutting the card x 2, I switched over to my Sihouette.


I found the frame in my library. I created an inset, then made the line dotted and white. I repeated the process only making the offset larger than the original frame and again added the dotted white lines. This is sooo easy to do with the SIL and I think a great touch.


Lastly, I added some twine and inked the edges...hope he likes it. I am sure he will appreciate it...he's that kind of man.


Simple, but pretty I think.

Review of the Paper Studio embossing folders

I had a little free time today so I stopped by Hobby Lobby. I was very selective in my purchases, but I did purchase an embossing folder made by the Paper Studio. I have to say, it is awesome. I wasn't sure how it would work in my Cuttlebug, but it worked perfectly. The emboss is deep, gives lots of texture. Highly recommend these!

Tee Shirt Pom Poms

I found a neat blog today. She had the cutest pompoms with a tutorial - I had to try them. Please check out her website, it is soooo cool!

I followed her instructions on the first 2 and then I tried to modify it on the 3rd one.

Here is the first one. It is made out of decorative trim ribbon. I added it to my daughter's dance bag.
The next one I made out of an old t-shirt like she did, but my edges didn't curl...must be the type of material???


The third one is also made out of the t-shirt but I wanted to see if I could modify the steps.


The first step is to cut the strips.


The second step is to fold the strips in half and tie them together.


The third step is to cut the end that is flapped over. Last, work with it so you can't the ribbon that is holding it together.


Fun project, I would love to do this with different patterns of cloth.

Tuesday, October 11, 2011

Card Set


Envelope (hand cut)


Card and embossed liner on envelope


Embossed Seal on envelope flap


I made these cards for S.O.S. She is not a girly girl and has asked me to make cards for her before and she wanted them very plain, so that is what I did with this set. My favorite is the black and white. I love all the embossing. The "D" is cut from vinyl and looks wonderful on the card. I put a mounting square on the back of the seal so she can remove the sticker backing and seal the envelope.


Wish I could have made more but I think I am done with this project. I am a slow scrapper. It took me 3 nights to finish these cards. I would like to make 1 more card to match the black and white card, but not sure I have the time.

Saturday, October 8, 2011

Happy Birthday Card


I made this little card for my sister in law. I wanted to learn how to make the rosette flowers but couldn't figure it out, thank goodness for youtube and a couple of girlfriends to help me out. It really works best to use E6000 on the back and in the middle of the rosette, then place something on top for a few minutes so it can set.


I went outside of the box a little on this. Normally I wouldn't have added the pink embellishments you see but tonight I thought, why not? I actually kind of like it.


Have a great weekend!


Rhinestone Paw


I used my Silhouette to create a rhinestone paw. The paw was purchased from the Silhouette store. It is orange and blue for Auburn, go Tigers! I purchased the white sweater at Target (it was on clearance for 13.00, wahhhooo). Now I want to put this on a bag. Hopefully I will be able to find one soon.

Thursday, October 6, 2011

Tim Holtz Creepy Dolls


Am I the only one that finds these broken dolls creepy?

National Boss Day

(click image to enlarge)


National Boss Day (NBD) is coming up on the 17th. I created this card for my awesome boss. He is a family man, who raised his daughter by himself. He always understands when I need to take a day off or even a few hours to go to the school for a program. Our group really appreciates him so every year we give him a card, a small gift and either take him out to lunch or have a picnic across the street from our building. We have a coworker who loves to grill, so he grills chicken or steak and we bring all the extras. Yesterday, my boss said it was time for another picnic, so I am going to see if our coworker will cook for us on NBD.


I made this card using my Silhouette (SIL). The pattern paper is a pattern I purchased from SIL. I used it twice on this card, once on white paper and then again on ivory paper. The typewriter is a print and cut file I bought from SIL. I typed the text on the front of the card using the SIL software. It says, "National Boss Day 2011 Enjoy". Twine was added to the top to add some color and texture. On the inside of the card, I used a 1 3/4" circle punch then stamped "It's your day". I inked all the edges. On the back, I added the ribbon my husband bought for me to add to my cards {he ALWAYS checks to see if I used it ;-)}


Thanks for visiting my blog.