Wednesday, September 15, 2010

Birthday Card


My boss sent me an email after I left work today asking if I wanted to make our Office Assistant a Birthday card...so naturally I said yes. We will let all the team members sign this card. Once everyone has signed, I will cut off the ends of the ribbon, they seem fragile, so that is why I am waiting.

The card is the first one on Wild Card Cricut Cart. I used double sided paper, wrapped some ribbon around it, stamped on the inside and added some Prima's for embellishment. Very simple!


Monday, September 13, 2010

Imagine this...

My husband just ordered the Cricut Imagine for me....so excited!!! Can hardly wait to play :-)

Sunday, September 12, 2010

PrintMaster


I was playing around with PrintMaster software I bought a while back (because I am too lazy to play with my Cricut tonight). I just realized I can use the images I bought from the Lettering Delights website with this software. Wahhooo!
I am not sure I will do anything with this file but I was happy to make this discovery. I also discovered I can export my file to .jpg - that means I can easily save it to post to a website. Having a .jpg file is also important for printing.
Embellishments can be added to make this more 3D.

Tic Tac Toe

I made this tic tac toe board using the George cart and DS. The yellow part is cut at 7 inches, the pattern paper , 8 1/2 inches and the blue lines were cut at 7 inches (they were welded in DS). All are basic shapes on the George cart.

I always let my husband laminate for me...but since he was napping I thought I would go ahead and do it....argh! I messed it up!!!! I fed the correct side in first but somehow I managed to get a couple of creases. Oh well...still wanted to share.

I left the back side white so the kids can play hangman or write on the back.

I used a dry erase marker for the game.

Saturday, September 11, 2010

Chore Cart


(Pics are in no particular order)

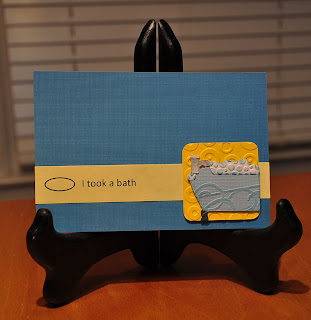
I used the Cricut Lite Chore Chart cart to make these cards. Each card is embossed and inked. My husband laminated them using PCs YourStory. Now he is going to use my Bind it All (BIA) to bind these at the top. I made these for my kids - and I plan to let them use a dry erase marked to check the oval as they have done their chores.

I know they are a little plain, but I'm a simple kind of girl. :-)

Friday, September 10, 2010

Pumpkin bag


Supplies:
Cricut
Cricut Design Studio
Plantin SchoolBook (PSB) cart
Create a Critter Cart (CAC)
Ribbon
adhesive
cardstock
transparency
Cuttlebug
Embossing folder

I used DS to make this bag. The bag is from PSB cart and the pumpkin is from CAC cart. I cut the sheet of plastic that comes on the new Cricut mat to put behind the pumpkin. Transparencies work just as well. Once I cut the bag, I ran it through my CB a few times to get the front and back of the bag dry embossed. Embellish as desired...I used SU! ink to add dimension but u can't see it. (once it dried).

Originally I wanted to use this as a luminary but I realized it was not wide enough to fit a battery operated candle inside...so I plan to put some candy inside and give it to a co-worker.