Showing posts with label Cricut Imagine. Show all posts

Friday, November 9, 2012

Zebra Bookmark


I don't know why, but I struggle with the new blogger.  This is my third time trying to post - so I am going to keep it short.

Products used:

Create A Critter Cart
Cricut Imagine
Cuttlebug
Sizzix dry embossing folder

I used layers of craft paper to make this bookmark sturdy.

I think it is time for a nap now :-)  Have a great weekend!

Friday, January 6, 2012

160 cuts in about 2 hours

I am room mom for my daughter's class and I told her teacher months ago, I can cut images for her if she ever needs anything. In Nov and Dec she had time slots for us to come in and craft with the kids and we could do our own projects if we wanted. If you remember we did the Turkey bags and the Gingerbread houses. After that, she asked me to cut gingerbread people for her and this week she asked me to cut 60 snowflakes and 100 mittens.

For this project, I had to break out the Imagine. I was planning to have 3 machines working at once, but I didn't have the energy to set up the third, haha. I used my Cameo to cut the really fancy snowflakes and I used the Imagine to cut the other snowflakes and the mittens.

It took about 2 hours I think. I had extra mats so I could have a mat ready when one came out. The Imagine tried to eat 2 of my mats, not sure what happened, but one of the mats, I will not put back in the machine, it bent the corner and I am scared to use it again.

The Cameo was definitely quieter than the Imagine. My husband even commented on it without me even asking him. The other thing I liked about the Cameo was that I used the SIL Studio Software to maximize my cutting space. I could have done this with the Gypsy and the Imagine but to me, that was too much trouble since my Gypsy isn't even charged right now. I have never found the Gypsy to be a must have tool for me. I know a lot of ppl have it and love it - that is great. I wish I loved it as much.

So, with the Cameo, I was able to cut 8 - 4" snowflakes on a 12 x 12 piece of paper and with the Imagine, I only got 4 on a page. Both machines cut really well. I hope my kids are not disappointed I accomplished this project on my own tonight. I told them they may have to help and they seemed happy about that.

I plan to make a 3D robot with my son tomorrow, if time permits. He brought out the robot cart and was talking about one of the robots he wanted - but said I didn't have to make it if I didn't want to. I had read a long time ago on the MB that is was impossible to put together, but I know we can do it!

I wasn't sure I could complete this project in a weekend. I actually was a little scared, glad everything went so well.

I'll be impressed if you make it through this entire post...haha Sorry it was so long!

Friday, October 14, 2011

Especially for you card


Supplies:

Adhesive

White cardstock

Cricut Imagine

Cricut Fabulous Finds Cart

Cricut Imagine Audrey Cart

Silhouette

Office Printer
Ink

Ink dauber


I created this card for my bosses boss, Walt. He is actually the manager who hired me 10+ years ago. I worked for him for probably 4 years or so until I moved to the software group. He has moved up and I have moved to the Avionics Engineering group, which is happens to fall under Walt. We are having a picnic for our boss and decided to invite Walt also, so I made this card today.


I printed the paper on the Cricut Imagine. The pattern is on the Audrey (which also happens to be a lovely name and a lovely blogger!) cart. The file folder card can be found on Fabulous Finds cart (I used the blackout feature). After cutting the card x 2, I switched over to my Sihouette.


I found the frame in my library. I created an inset, then made the line dotted and white. I repeated the process only making the offset larger than the original frame and again added the dotted white lines. This is sooo easy to do with the SIL and I think a great touch.


Lastly, I added some twine and inked the edges...hope he likes it. I am sure he will appreciate it...he's that kind of man.


Simple, but pretty I think.

Sunday, June 12, 2011

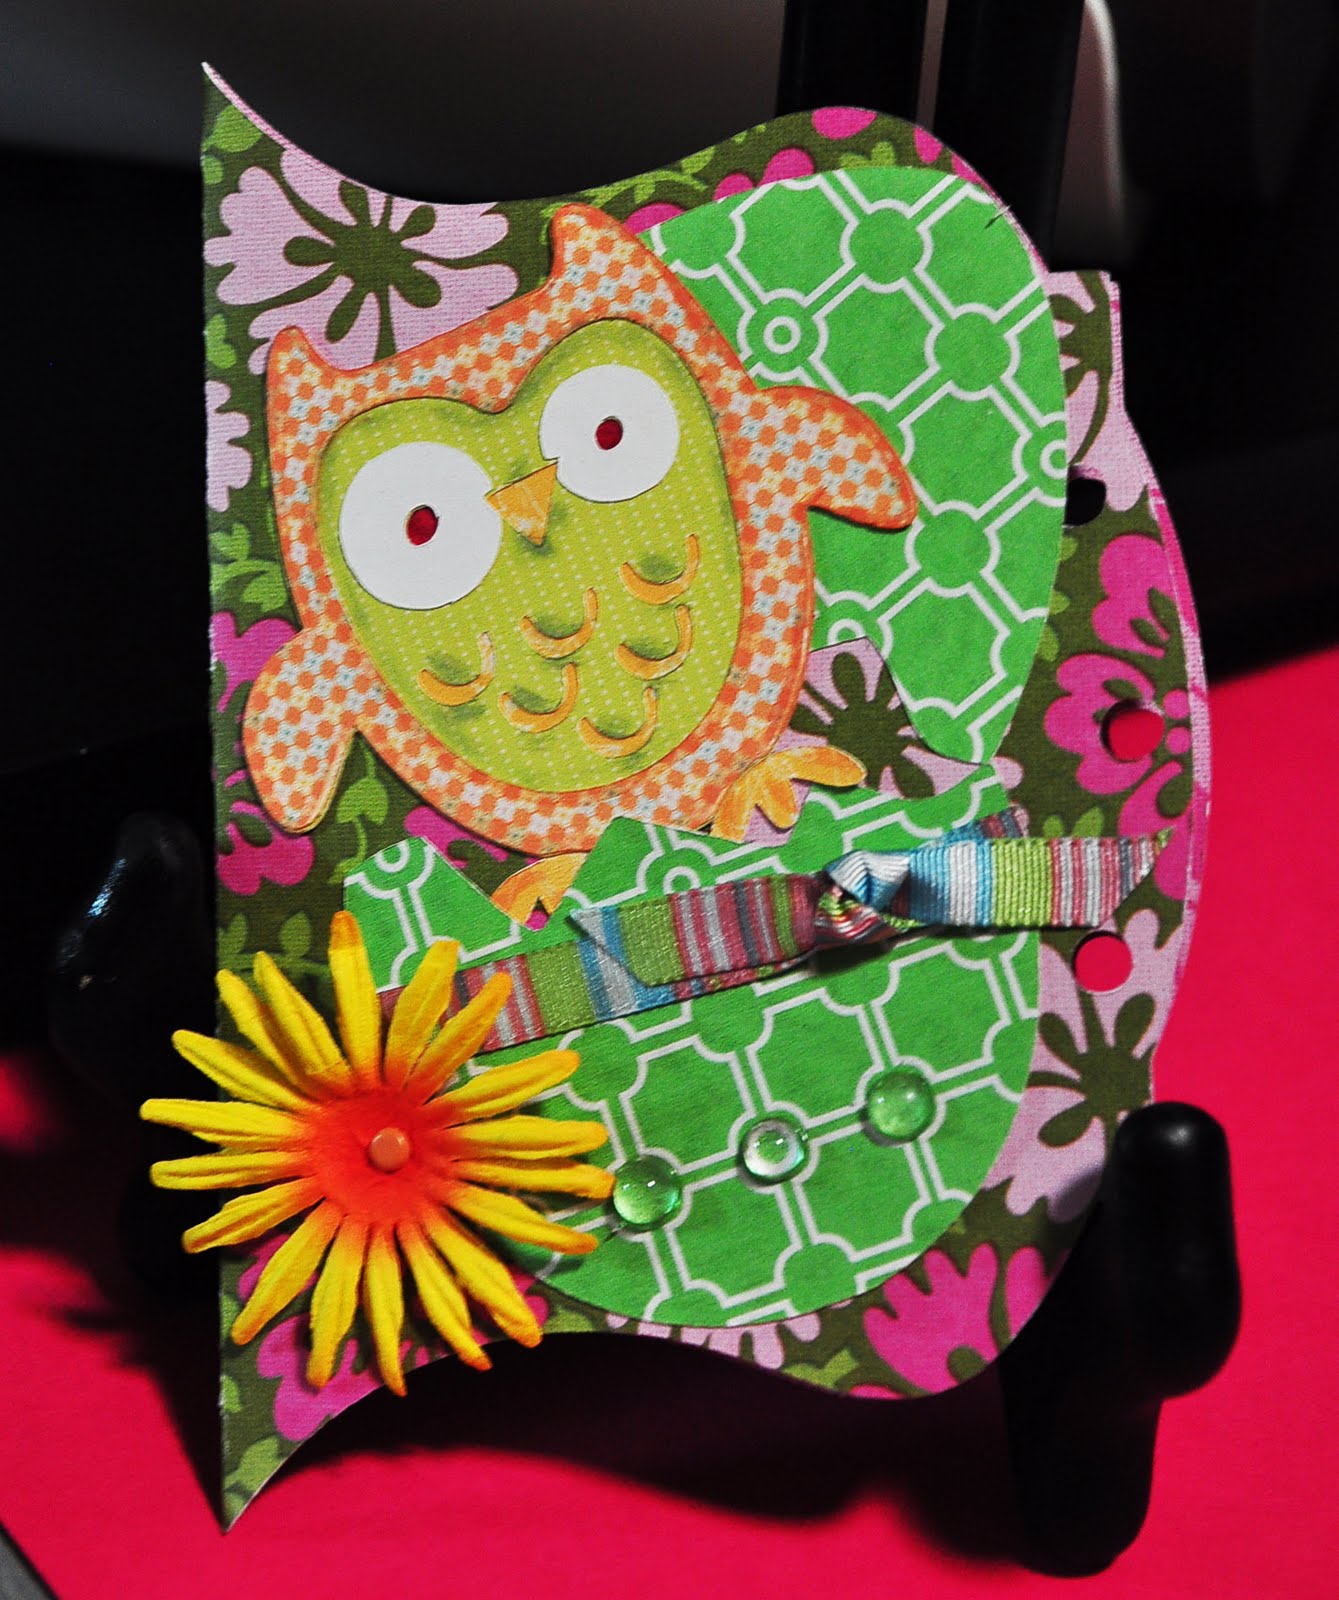
Happy Birthday Sister!!!


Supplies:

Cricut Imagine
Hoot 'n' Holler cart
Elise cart
Audrey cart
Ribbon
Mini round gems
Prima flower
Adhesive
cardstock/pattern paper
Copic marker
Cuttlebug
Cuttlebug embossing folder

It is my sister's birthday tomorrow (we are about 15 1/2 years apart) , so I thought I would make a little card for her. I wanted this card to be different than something I would normally make so I used an odd shape and mismatched the colors a bit.

Back in the 70s, I think she liked owls...so I went with it. I used my Imagine to create this card. The paper is Amy Butler double sided paperstack. The card base is from Storybook (it is not a card but I folded it in half and made it a card). The owl is from Hoot 'n' Holler. I used my Imagine to print the pattern paper (used for the owl). The pattern carts I used are Elise and Audrey. I used a CB embossing folder to negative emboss the sentiment paper. A Copic marker to color in the pupils was the way to go.

I struggled with this card a bit but I am happy with the result. I like doing things a little different...you never know what you will come up with.

Thursday, December 30, 2010

Imagine - Bird Label

I wanted to do something different tonight...so I thought about making a shipping label. I couldn't totally do it on the Imagine - hopefully soon! The bird is from the Best Friends Imagine cart (cut at 1.5"). The green/blue label is cut at 2" and the background label is cut at 2.4". All from the Best Friends cart. I printed the fake address using a word processor and then printed it on my printer to make sure I would know where it would print. Then I took the green/blue label and placed it on a clean piece of paper using Repositionable artist's adhesive (3M Spray Mount), placed it in the printer and viola!


Once Upon A Princess

I made this princess card for a 5 year old then decided it wasn't right for a 5 year old. So, then I made the following...I think she will like the hot pink better than the soft pink. I added silver, green and pink stickles to "Celebrate"...I thought she would like the bling. The pink plaid background was cut using New Arrival at 5.5".


Christmas House


I made this with the Imagine Snow Angel cart. Also etched the glass corners - it turned out ok but I need more work on etching...hence the reason for the cream mat. I was going to use a cranberry color but it didn't look as nice.

Monday, December 27, 2010

Imagine - Bird Card

I made this for my officemate. Just a little thank you card since she took me out to eat for my Birthday.

I used the Best Friends cart to print and cut the back ground plaid paper and the bird scene also. I put the blue plaid paper on the inside of the card also. I used a MS punch on the corners.

Thursday, December 2, 2010

CAC - turtle baby card


I used scrap paper to make this baby card. It is actually Christmas paper (double sided). The baby is due at Christmas. The turtle is from CAC and I used the Imagine to create the pattern. The scallop is from the Imagine too.


Sunday, November 21, 2010

Peace, Joy, Love

(Click to enlarge)

During church this morning, we watched a video...it was about Hope, Peace, Joy and Love...and I knew immediately I had to create a frame with this message. I could only find a mat with 3 openings, so I left off Hope (at least for now).

I used my Gypsy for the first time tonight..."Peace" and "Joy" are from Gypsy Wanderings and "Love" is from the Sweethearts cart. The vinyl words are cut at 1.5". The background paper is K&Company (Secret Santa 12x12 Designer Paper Pad) - found at Michaels for $9.99.

The ornaments and tree are cut from the Imagine Snow Angle cart.

Friday, November 12, 2010

Imagine - Woodland Christmas


This was going to be a card, but I cut the sleigh out too big so, it is now going to be framed. :-) The background is one of the "Bonus Content" on the Snow Angel cart. All items cut from the Snow Angel cart.

Sunday, November 7, 2010

Imagine - Happy Holidays Card #2


The Happy Holidays image on the front of the card was cut at 4" and the background paper was cut at 5.5" from the Imagine Snow Angel cart. The pearl embellishment (self adhesive) - made by Recollections - bought at Michaels. On the inside of the card, I cut the tree at 2". The message on the inside of the card was printed on my personal printer...wouldn't it be great if the Imagine could print like this?

Imagine - Happy Holidays Card


House with Happy Holidays above the door. Lots of 3-D on this card. I used Liquid Applique for the snow effect. This stuff is great...it really added a lot of texture to this card. I originally cut this house just to make good use of 12 x 12 paper and I ended up liking it better than what I originally started to create. On the inside, I plan to put, "From our home to yours, Merry Christmas and Happy New Year!"


Saturday, November 6, 2010

Imagine Ornament Tag


Another Snow Angel creation. This one is a tag. For the center scene, I used Glossy Accents to add a different texture to this tag. This is my first time to use it on a project even though I have had it for a while. On the back, I used a stamp to add some lines to guide where I will place the From/To names.


Imagine Stocking

I made these stockings using the Snow Angel cart. The first one I made, I thought I used too much Stickles, so I printed/cut out another one. I think these would make great tags for presents. I plan to either write or stamp a name on the top of the stocking. Might also break out the Crop-A-Dile to add an eyelet so I can add some ribbon to attach it to a present.

Imagine Snow People Card

Front of card
Inside card

I made this card using the Imagine Snow Angel cart. "Ho Ho Ho" is a stamp I found at Michael's today for 1.00 and the ribbon was also at Michael's for 1.00. The pattern paper was printed using the Snow Angel cart.


Imagine Tree Card

Front of card
Inside card

I made this card with my new Imagine cart, Snow Angel. I thought for days about which cart to buy. I finally decided on this one because I can use it a lot within the next few months.

The ribbon I used on this card was found at Michael's for 1.00. It was the inspiration for the blue on this card.

I used the Cuttlebug to dry emboss the background and stickles to add a little sparkle to the card.

On the inside of the card, I had the pot at the bottom left over from when I printed/cut the birds...when I put it at the bottom of the scalloped oval I thought it made it look like a tree so I added it to my card.


Saturday, October 23, 2010

Imagine - Lots of Projects!

$1.00 Pocket Calendar found at Michael's.
Inside of calendar

Door decoration for my son's bedroom - per his request


Princess - per request from my daughter


Girl with a "You are my Sunshine" sign...a little something for my husband


I cut all these projects with my Imagine. Yes, I actually got an original cart to work with the Imagine. Just hanging out watching football and playing with my Imagine. I need some new carts but nothing out there I really like right now...hopefully soon!

Friday, October 22, 2010

Imagine Update

Oh - I can't get the Imagine update to work for me...bummer. I can say...I think my Imagine makes better cuts than my baby bug and my Expression. I do hope they come out with some good carts...so far not much out there I am interested in...hopefully I will be able to get the update to work and then they will do another update so we can print and cut our images from the Gypsy. Oh- yes, I finally broke down and bought the Gypsy since it was on sale and I thought it might help with the Imagine.

I really wish PC had better communication. I know a lot of people are having problems with the update and people are confused - was there an update today or not...???

I'm off to play with my Imagine and Paper Doll Dress Up, my son wants to decorate his bedroom door with some Halloween images.

Friday, October 15, 2010

Imagine - Pumpkins


Supplies:
Cricut Imagine
Nursery Tails
Martha Stewart Punch Around The Page - Swirling Lace
Create a Critter Cricut (CAC) cart
cardstock (white and an optional background card color)
American Crafts Premium Ribbon (Gracious)
Cuttlebug (CB) and Embossing folder

I cut the pumpkins from the CAC cart using the Imagine. I chose the orange color using the Imagine Nursery Tails cart. The sizes are 1", 1.5" and 2". The shadows are the same size, just a different color (chosed from the Nursery Tail cart). Pumpkins are dry embossed using the CB.

I love this ribbon and wish I could find it by the roll. I love ribbon with texture and it is hard to find except in small packaging.

The white paper is 3.25" by 5". This was a test to see if I could figure out this new MS punch I bought at Michaels for $14.99. I usually don't buy punches, but wanted to try this. I have a circle punch, an edge punch, a corner rounder and now this MS Punch. It's ok, I like the look but I might go pick up one that is less decorative in addition to this one.